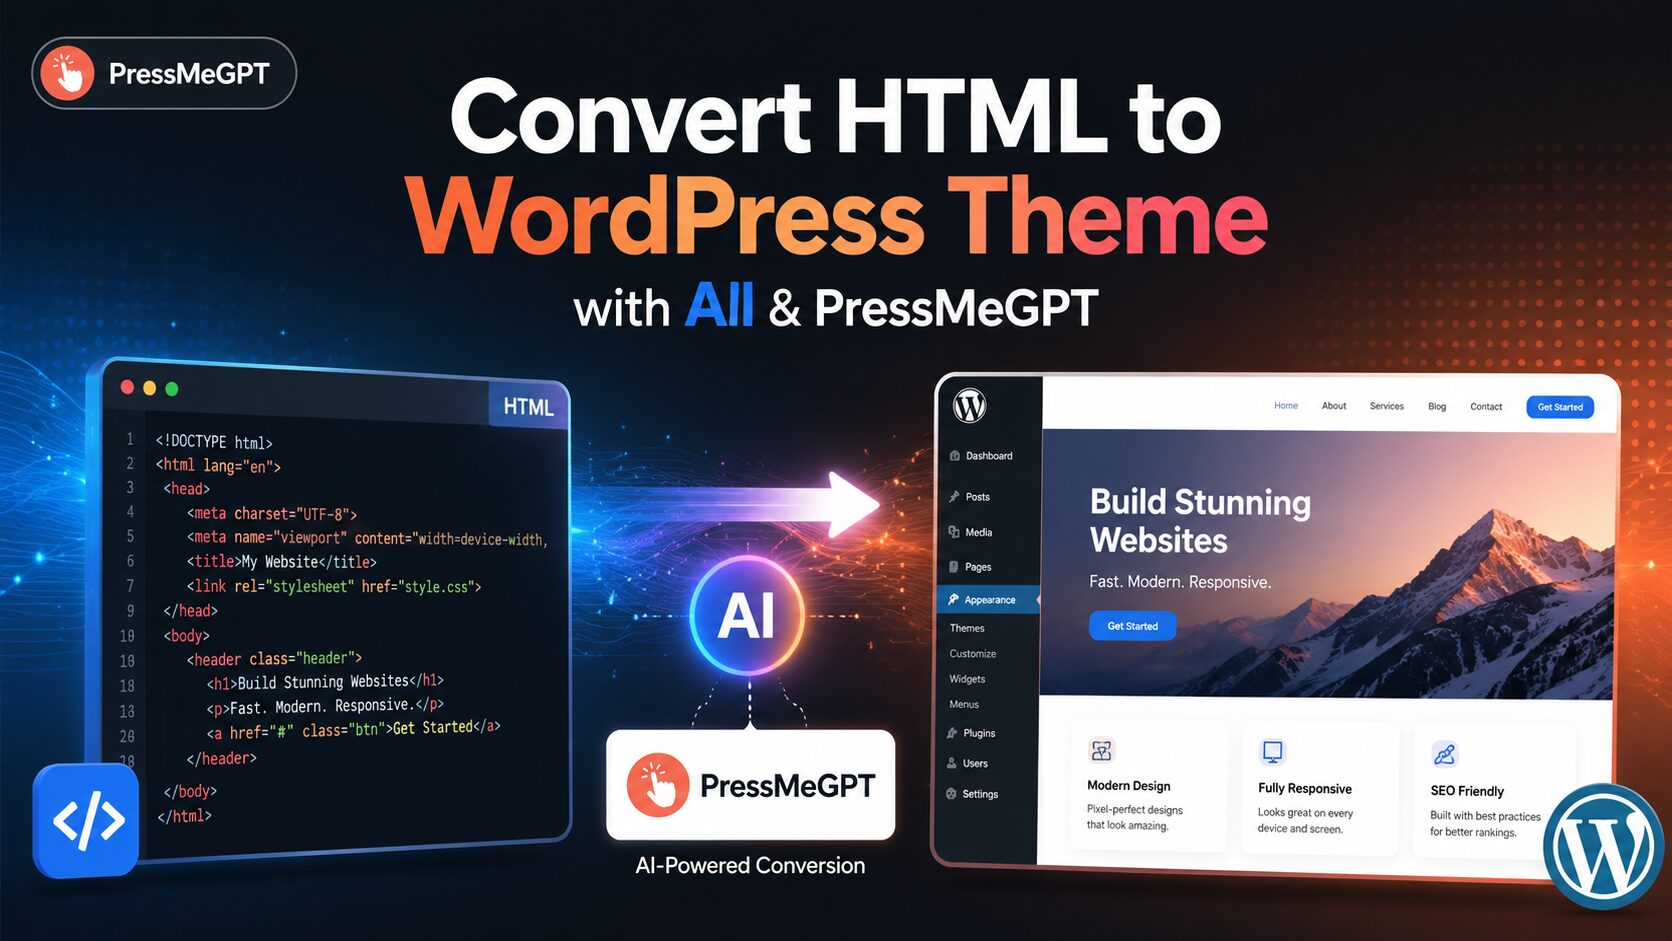
If you’re working with a plain HTML website — whether you already have the files, or you just have an idea for one — turning it into a real, editable WordPress theme has traditionally meant manually rebuilding every section as PHP template files. PressMeGPT handles that conversion for you. You can bring your own HTML, or let PressMeGPT generate the HTML first from a simple prompt and then port it straight into WordPress.
Why Convert HTML to WordPress?
A plain HTML site is just a static file — there’s no dashboard, no way to edit content without touching code, and no plugins for things like forms, SEO, or analytics. WordPress turns that same design into something you can actually manage day to day: edit pages, publish posts, and add whatever functionality you need through plugins, all without opening a code editor every time you want to change something.
That matters whether your HTML came from a developer, was exported from another tool, or was generated with AI. The design itself might be exactly what you want — it just needs a proper CMS running underneath it, which is exactly the gap PressMeGPT is built to close.
How to Convert HTML to a WordPress Theme with PressMeGPT
1. Start a new project Head to pressmegpt.com, sign in (or create a free account), and start a new project. Describe the site you want in a prompt — for example, a tree cutting service’s homepage — and optionally upload an image you’d like included.
2. Pick from the generated variations PressMeGPT generates three HTML website options based on your prompt. Pick the one that’s closest to what you’re going for.
3. Refine with follow-up prompts Keep adjusting from there — change fonts, resize elements, swap icons, update images, or add whole new sections like testimonials or a call-to-action, all through simple prompts.
4. Preview the HTML Use the full preview to check how everything looks, and download any images from the design you want to keep for later use.
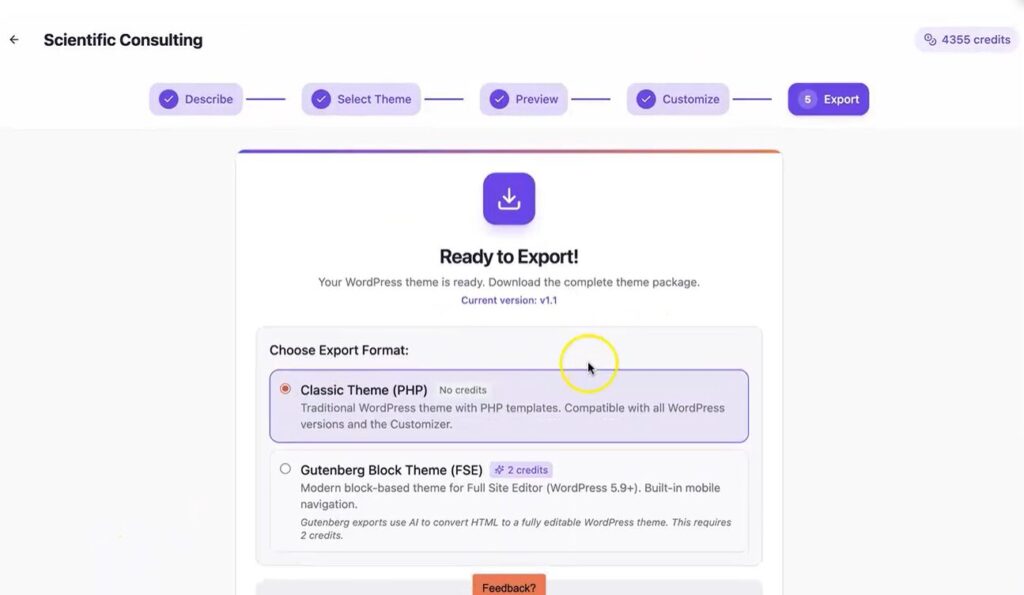
5. Export to WordPress When you’re happy with it, head to export. You can choose a Classic PHP theme — the traditional format, still supported though likely to be phased out over time — or a Block theme, which is Full Site Editor and Gutenberg compatible.
6. Download and install Download the exported theme file, install a fresh copy of WordPress if you don’t already have one, then upload and activate the theme from Appearance → Themes → Add New → Upload Theme.
7. Finish customizing in WordPress Add any last touches — like a logo — directly inside WordPress once your site is live.
A Few Things to Keep in Mind
- Classic vs. Block theme is worth thinking through. Classic PHP themes work broadly with older plugins today, but block themes are the direction WordPress itself is heading, so they’re the safer long-term choice if you want to keep editing with the native Site Editor.
- This builds your design, not your content. If you’re replacing an existing site, you’ll still need to move over blog posts or other content separately.
- It’s easier to refine before you export. Since re-exporting after changes means reinstalling the theme, it’s worth spending a few extra prompts perfecting the design at the preview stage rather than after it’s already on WordPress.
- Set up redirects if you’re replacing a live site. If this new theme is replacing an existing website with its own URLs and search traffic, don’t skip 301 redirects — they protect your SEO through the switch.
- Test before you go fully live, especially if you’re pointing a domain that’s currently serving a different site.
Final Thoughts
Whether you’re starting from your own HTML files or just a prompt in your head, PressMeGPT collapses what used to be hours of manual theme development into a few minutes of generating, refining, and exporting — so you can spend your time on the content and functionality that actually make the site useful.