
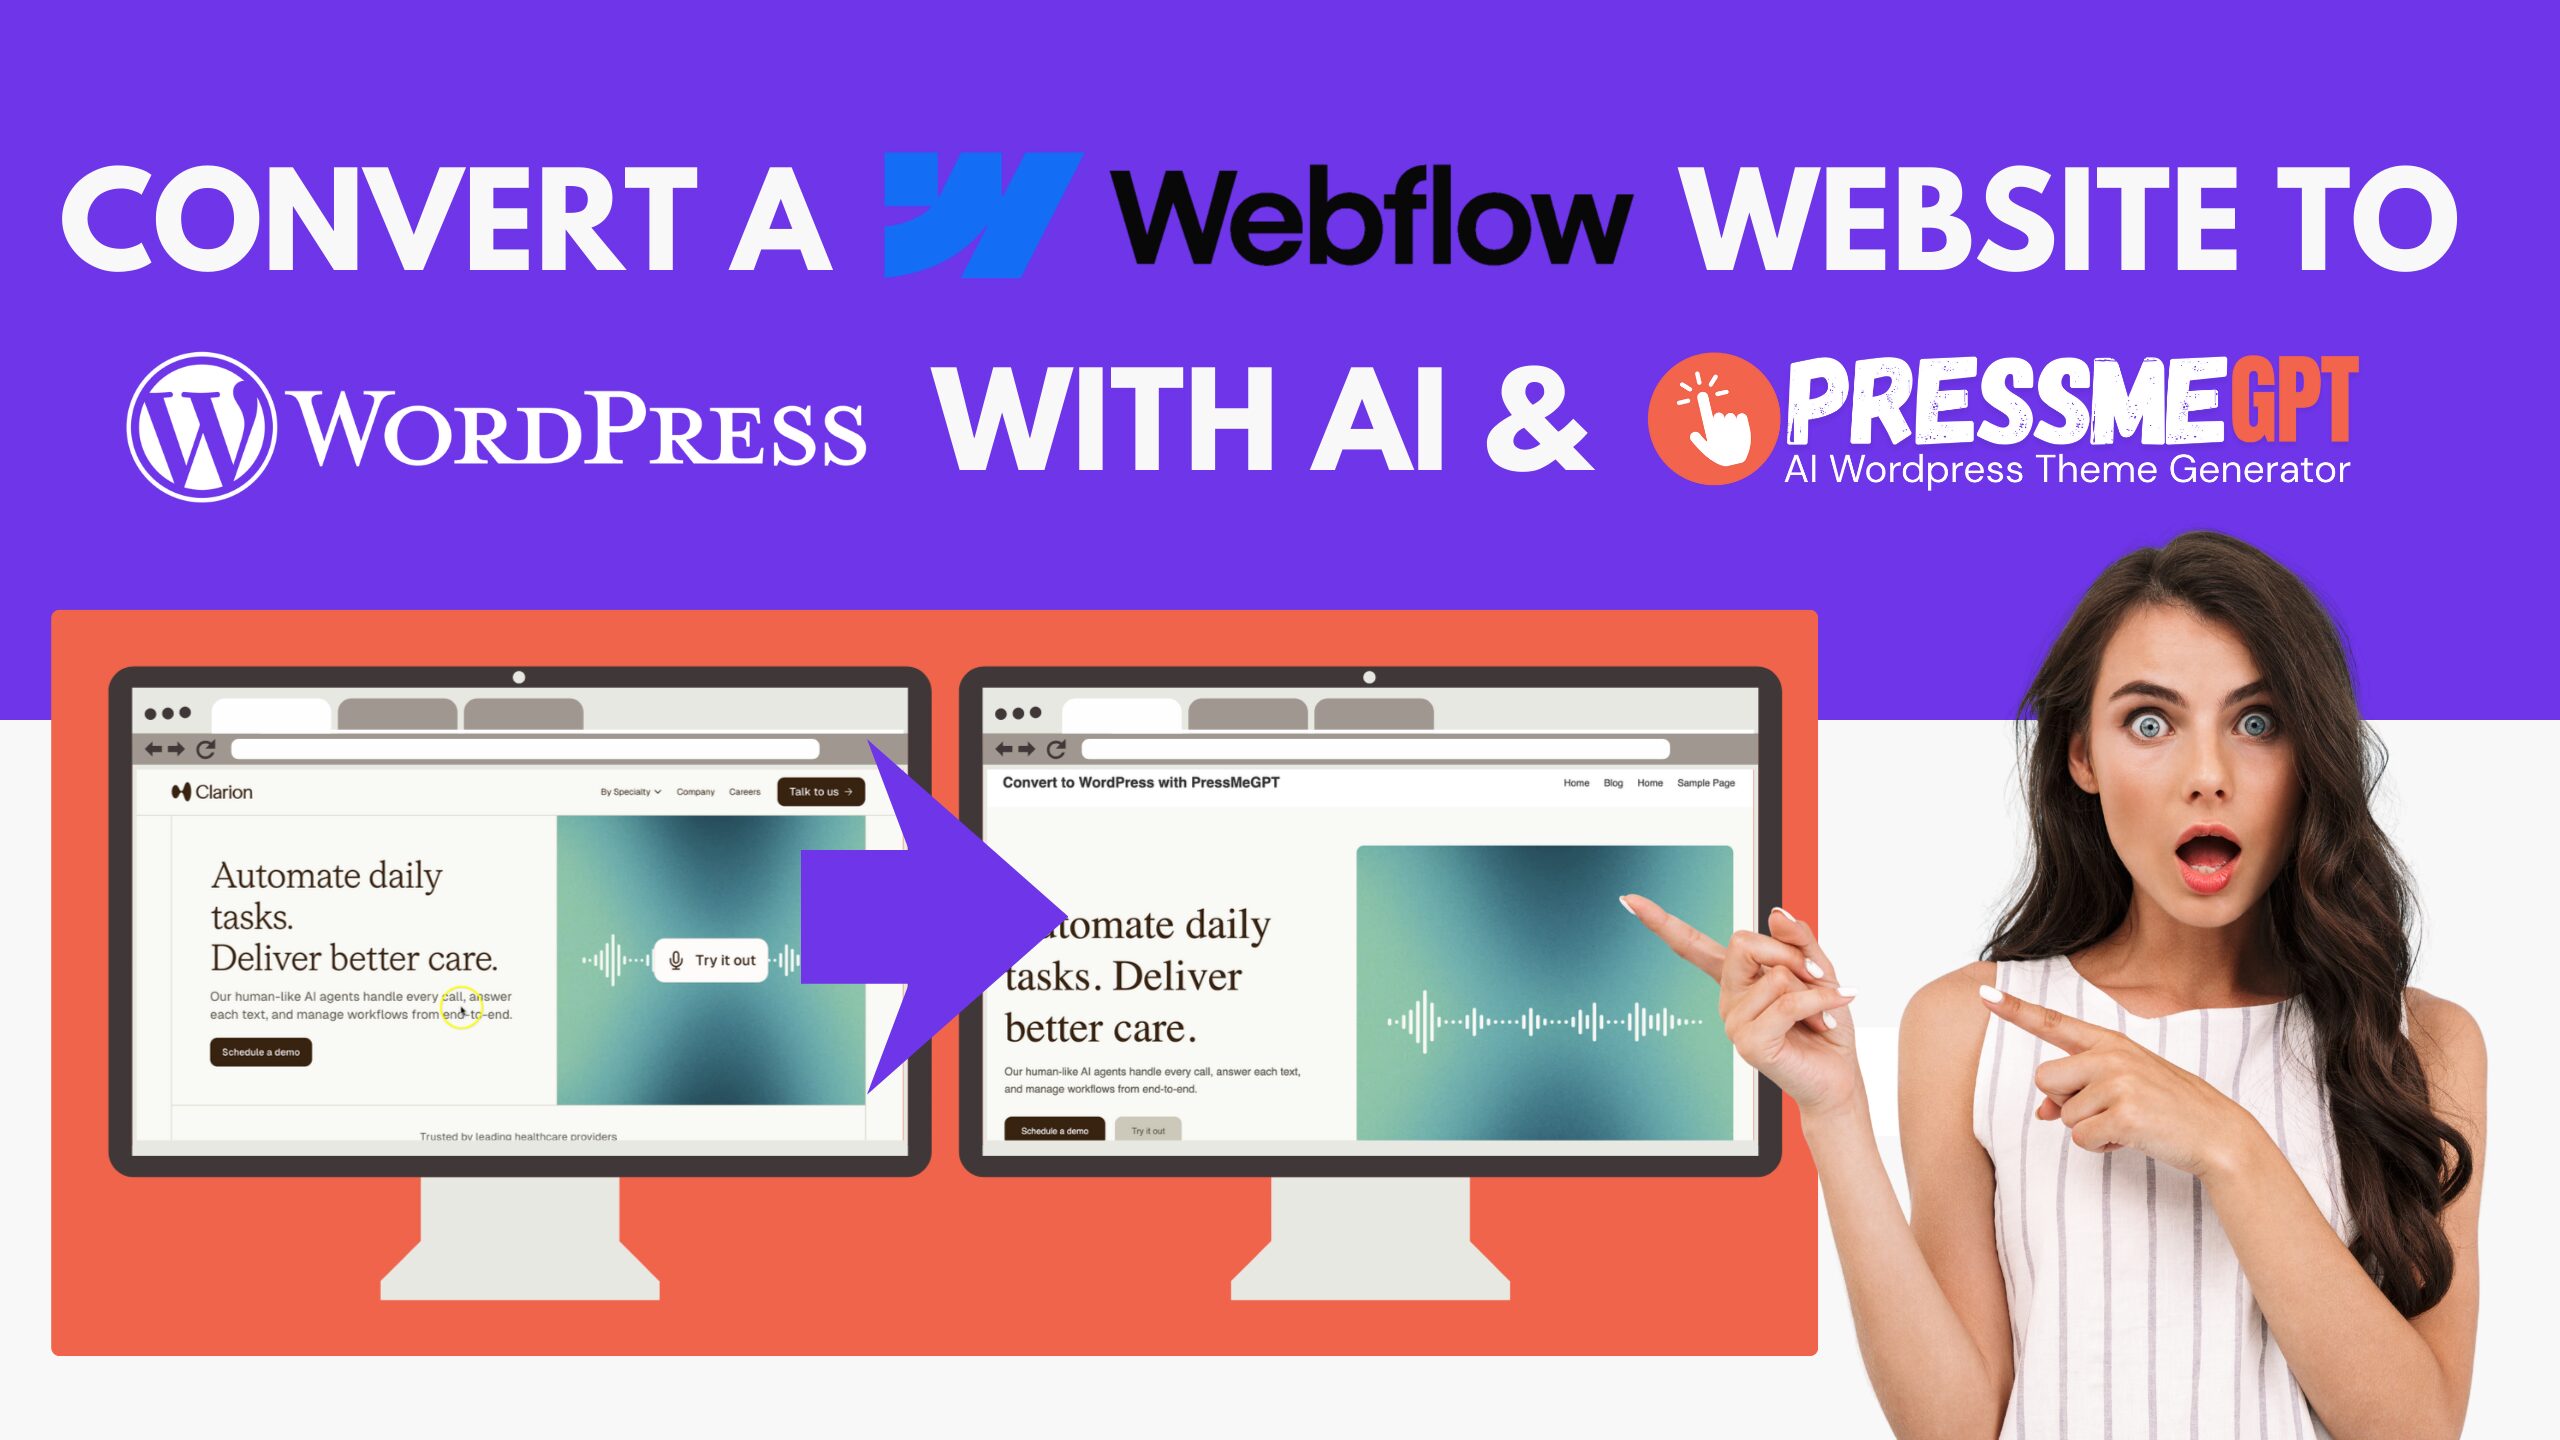
Webflow is a popular modern website builder that allows designers and developers to create visually impressive websites using a powerful visual editor. It combines design tools, hosting, CMS functionality, and animations into a single platform, making it a favorite among designers and agencies who want more control than traditional drag-and-drop builders.
Many startups, marketing teams, and creative professionals use Webflow to quickly launch marketing websites, landing pages, and brand experiences.
However, some website owners eventually decide they want to move their website from Webflow to WordPress.
WordPress is one of the most widely used website platforms in the world and powers more than forty percent of all websites. Over the past two decades, it has built a massive ecosystem of plugins, developers, agencies, and hosting providers.
In this video, we show how you can convert a website built with Webflow into a native WordPress theme using PressMeGPT.
PressMeGPT is an AI WordPress theme generator that allows you to convert existing websites into real WordPress themes in minutes. Instead of manually rebuilding your Webflow design, PressMeGPT analyzes the website and generates a theme that you can export and install into WordPress.
Why Migrate From Webflow to WordPress?
Before jumping into the how, it helps to know why people make this move in the first place.
The biggest one is usually the cost. Webflow’s pricing climbs as your site grows — more CMS items, more traffic, e-commerce — and the bill goes up with it. WordPress itself is free; you’re really just paying for hosting, which is cheap and competitive.
Then there’s ownership. Your Webflow site technically lives inside Webflow’s ecosystem, and pulling out a fully functional, editable copy isn’t simple. With WordPress, the code, theme, media, and database are actually yours — host it anywhere, back it up anywhere, move it whenever you want.
WordPress also has a much bigger plugin library, so almost anything you need — forms, bookings, memberships, security, SEO — already has a solid option. On that note, plugins like Yoast and Rank Math give you a level of technical SEO control Webflow doesn’t really match once a site scales up. And if you’re publishing a lot of content — a blog, a resource library, multiple authors — WordPress was built for that from day one. It’s also just easier (and cheaper) to find a WordPress developer than a Webflow specialist when you need help.
The one thing that used to make switching painful was rebuilding the design by hand. That’s the part PressMeGPT takes care of.
The Traditional Way to Convert a Webflow Website to WordPress
Historically, converting a Webflow website into WordPress required manually rebuilding the entire site.
Developers would typically export the Webflow HTML and then convert that structure into WordPress theme files.
This process usually involved:
- – Rebuilding the layout as WordPress templates
- – Creating files like header.php and footer.php
- – Configuring stylesheets and scripts
- – Registering menus and widget areas
Depending on the complexity of the website, this process could take many hours or even days.
PressMeGPT simplifies this process by generating the WordPress theme automatically.
What PressMeGPT Is
PressMeGPT is an AI-powered WordPress theme generator designed to convert websites into native WordPress themes.
Instead of manually rebuilding a design, PressMeGPT analyzes the layout and structure of a website and generates a working WordPress theme.
The generated themes can be exported and installed on any WordPress website.
PressMeGPT supports several editing environments including:
- – Gutenberg (WordPress Block Editor)
- – Elementor
- – WordPress Classic themes
Once exported, the theme belongs entirely to you and can be installed on as many websites as you like.
Benefits of Converting a Webflow Website With PressMeGPT
Using PressMeGPT to convert a Webflow website into WordPress offers several advantages.
Faster Development
Instead of rebuilding the entire design manually, PressMeGPT can generate a working theme in minutes.
Full Ownership
The exported theme is a standard WordPress theme file that you fully control and can host anywhere.
More Flexibility
Once the theme is installed in WordPress, you can extend your website using thousands of available plugins.
Easier Customization
You can refine the generated theme using prompts inside PressMeGPT before exporting the final result.
Step-by-Step: Convert a Webflow Website to WordPress
Step 1: Visit PressMeGPT
Start by visiting PressMeGPT.com.
Create a free account or sign in if you already have one.
Once logged in, you will gain access to the PressMeGPT dashboard where you can begin creating new themes.
Step 2: Create a New Project
Inside the dashboard:
- Click New Project
PressMeGPT allows you to generate themes from:
- – Text descriptions
- – Design references
- – Existing websites
To convert a Webflow website, choose the option to generate a theme from an existing website.
Step 3: Paste the Webflow Website URL
If your Webflow site is published online, copy the public URL of the website.
Paste the URL into the project field inside PressMeGPT.
PressMeGPT will analyze the layout, styling, and structure of the website so it can recreate the design as a WordPress theme.
Step 4: Add Optional Instructions
You can provide additional instructions to guide the theme generation.
Examples include:
- – Maintain specific layout sections
- – Improve mobile responsiveness
- – Ensure compatibility with Gutenberg
- – Ensure compatibility with Elementor
These instructions help the AI produce a theme that better matches your needs.
Step 5: Generate the Theme
Click Generate Theme.
PressMeGPT will begin converting the Webflow website into a WordPress theme.
Behind the scenes, the system generates:
- – WordPress template files
- – Stylesheets
- – Theme configuration files
Within moments, the base WordPress theme will be ready.
Step 6: Refine the Theme With Prompts
After the theme is generated, you can refine it using prompts.
For example, you can ask PressMeGPT to:
- – Adjust spacing
- – Modify layout sections
- – Change fonts and typography
- – Add additional components
Many users complete a full theme within 30 to 45 minutes using this workflow.
Step 7: Export the WordPress Theme
Once the theme looks the way you want, export it.
PressMeGPT provides the theme as a downloadable WordPress theme file.
This file contains everything needed to install the theme into WordPress.
Step 8: Install the Theme in WordPress
Log into your WordPress dashboard.
Then follow these steps:
- Go to Appearance → Themes
- Click Add New
- Select Upload Theme
- Upload the theme file exported from PressMeGPT
After installation you can preview or activate the theme.
Your Webflow design will now function as a WordPress website.
A Few Important Things to Know Before You Go Live
Getting the design across is the hardest part — but a full migration involves a bit more than installing a theme. Keep these in mind:
Keep an overlap window. If possible, leave the Webflow site accessible for a short period after launch (even just internally) in case you need to double-check something you missed.
Design and content are separate. PressMeGPT rebuilds your site’s look and structure, but your actual content — blog posts, CMS collection items, portfolio entries — usually needs to be migrated separately. Export your Webflow CMS collections as CSV files and import them using a plugin like WP All Import, or copy the content over manually for smaller sites.
Rebuild your forms. Webflow’s native forms and their backend logic won’t carry over automatically. Recreate them in WordPress with a forms plugin (like WPForms, Gravity Forms, or Fluent Forms), and make sure notification emails and integrations are reconnected and tested.
Set up 301 redirects. If any of your URLs or slugs change during the move, set up 301 redirects (a plugin like Redirection works well) so you don’t lose SEO rankings or break inbound links pointing to your old pages.
Back up your Webflow site first. Before you touch anything, save a backup or export of your current Webflow site so you always have a fallback if something doesn’t transfer the way you expect.
Test before you switch DNS. Build and test your new WordPress site on a staging domain or subdomain first. Only point your live domain’s DNS to the new host once you’ve confirmed everything — forms, links, mobile responsiveness — works properly.
Update Search Console and your sitemap. Once you’re live, submit your new XML sitemap to Google Search Console and monitor for crawl errors in the weeks after launch.
Conclusion
Webflow is a powerful modern website builder that allows designers and developers to create visually impressive websites quickly.
However, some businesses eventually prefer the flexibility, ownership, and long-term stability that WordPress provides.
PressMeGPT makes it possible to convert a Webflow website into a native WordPress theme in minutes.
By entering the website URL, generating the theme, refining the design, and exporting the final result, you can quickly move from a Webflow-built website to a fully functional WordPress site.
Visit PressMeGPT.com to try it yourself and start converting Webflow websites into WordPress themes today.